Tuesday, November 29, 2011
Sugar Rolled Cookies
Posted by Bearrie at 11/29/2011 07:51:00 AM 0 comments
Labels: Cookies
Oreo Philly Cream Cheese Cake
This Oreo Cheese Cake with White Chocolate Topping are soft and tasted like NY Cheese cake. If you don't like Oreo, may substitute for digestive biscuits instead. I half the portion of the original recipe from www.dennyfoodandrecipes.blogspot.com. For the white chocolate topping, I uses Ghiradelli semi-sweet chocolate chip. They tasted like condensed milk but the hardened version.
Here's the recipe:
6 x 6 inch non-stick square baking pan
24 Oreo cookies, divided into 18 + 6
60 gm butter, divided into 30gm + 30gm
2 box Philadelphia Cream Cheese, 8 oz each
1/2 cup white fine sugar
1/2 cup light sour cream
1/4 tsp vanilla
2 large eggs
100 gm White Chocolate Semi-sweet
Directions:
- Heat oven to 160 degC. Line baking pan with foil or baking paper, with ends extending over side of pan for easy lifting of cake later.
- FINELY CRUSH 18 cookies without cream using a grinder.
- Medium bowl: Melt 30 gm butter + cookies cream. Add in crushed cookies and mix well. Press onto bottom of prepared pan evenly.
- Large bowl: Electric whisk - beat cream cheese and sugar until blended. Add sour cream and vanilla; mix well. Do not over stir as it will cause the cheese cake to crack when baking.
- Add eggs, 1 at a time, beating after each addition until just blended.
- Chop remaining 6 Oreo cookies. Using Spatula, gently stir it into batter; pour batter over crust in pan.
- To bake - Place a baking pan half-filled with hot water on the bottom rack of oven while cheesecake bakes on middle rack. Bake for 45 mins at 160 degC. Cheesecake is baked when center is almost set. Off the oven and leave cheesecake in oven to cool . The cheesecake will continue to baked at this stage (around 10-15 mins) DO NOT open oven door when baking cheesecake as this will make the cheesecake flop in the middle.
- For Topping - microwave chocolate and remaining 3 gm butter; stirring until smooth. Cool slightly and spread over top of Cheesecake. Refrigerate for 4 hours. Use foil/baking paper handles to lift Cheesecake from pan before cutting into smaller square to serve.
Posted by Bearrie at 11/29/2011 06:35:00 AM 0 comments
Labels: Baked Cake
Baby Shower Cupcakes
These Cupcakes were made for a Baby Boy shower. I uses Marshmallow fondant for the topping and the cake is from Cranberries Yoghurt recipe. Have put in too much Blueberries essence thus the fondant tasted like gum paste. Better to use vanilla essence next time.
Posted by Bearrie at 11/29/2011 06:27:00 AM 0 comments
Labels: Baked Cake
Saturday, October 22, 2011
Checkie Bear
Here's my newest member who has just join my bear family. Please meet Checkie, with a vest and his lovely tie. Checkie is made from synthetic fur and has paws and foot made from suede. Because of his size, I uses rubber ring instead to join his arms and legs. Checkie was completed at 11am on Saturday, 22 oct 2011. He is a duplicate from Twins. I made him a simple vest and bow tie to go with his "what's happening" kind of look.
Posted by Bearrie at 10/22/2011 11:19:00 AM 0 comments
Labels: Furry Critters
Sugar Rolled Cookies
Hey, I finally found a rolled cookies that doesn't break nor spread when baking. So here it is.
Posted by Bearrie at 10/22/2011 11:10:00 AM 0 comments
Labels: Cookies
Sunday, October 16, 2011
Yvette's Birthday 16 Oct 2011 sunday
It has been awhile since I updated my blog. Have been rather lazy and hooked on playing psp :)
Anyway, a friend ask me to help make a shocking pink cake and 100 cupcakes for her daughter's birthday. I spent the whole weeks trying out gumpaste and fondant. So, my verdict on gumpaste is that it taste like gum and tasteless. For the fondant, I prefer marshmallow fondant as it tasted better then the ordinary one.
Now here is the picture for the gumpaste roses and heart shape that I have tried:
Now, here is the cupcakes and cake:
For the cupcakes, I uses red velvet cupcakes recipe to make the base and buttercream frosting. The pink frosting has a tinge of raspberry flavour while the white frosting is vanilla.
For the cake, the flowers are made from gumpaste. I uses rose pink colouring to get the shocking pink frosting for the cake. The cake base is made from butter while chocolate cake.
Now, I just hope the birthday girl enjoy her white and pink birthday. Here's wishing her every blessing and a Happy Birthday.
Posted by Bearrie at 10/16/2011 11:59:00 PM 0 comments
Labels: Baked Cake
Tuesday, July 26, 2011
Bobbie Bunny
Hey, my daughter gave this bunny to her friends for her birthday. Bye-bye Bobbie........now you have a new home to go.
Posted by Bearrie at 7/26/2011 09:51:00 PM 0 comments
Labels: Furry Critters
Double Chocolate with Apricot Cookies
Hey, thought I also upload this cookies recipe which I have already made it twice. Lovely crunch crisp texture and soft on the inside. If you want more crispy, then let it baked longer.
Ingredients:
- 113 gm/ 1/2 cup unsalted butter, softened
- 115 gm/ 1/3 cup sugar
- 1 egg
- 1 tsp vanilla essence
- 150 gm / 1+1/4 cups self-raising flour
- 75 gm/ 1/4 cup rolled oats
- 60 gm unsweetened dark chocolate, roughly chopped
- 60 gm unsweetened white chocolate, roughly chopped
- 1/3 cup dried apricots, roughly chopped
- Preheat oven to 160 degC. Prepare baking sheets on baking tray and set aside.
- Medium bowl: Sift flour and set aside.
- Large bowl: Electric Whisk - combine butter and sugar, cream till pale and fluffy.
- Add egg and vanilla essence and beat well.
- Using spatula - fold in flour into wet ingredients lightly.
- Add oats and chopped chocolates + apricots. Stir until evenly mixed.
- Place a small spoonful of the mixture in rocky heaps on the baking sheets, leaving space for spreading during baking time.
- Bake for 10-15 minutes or until biscuits are beginning to turn pale and golden.
- Cool on baking sheets for 2-3 minutes, then lift on to wire racks to cool.
Posted by Bearrie at 7/26/2011 09:46:00 PM 0 comments
Labels: Cookies
Lotus Paste Buns
It has been so many months that I have not update my blog. I have kind of been 'out-of-energy', lazing around for awhile, then hook-on to computer game (playing God to Sims2) and nursing my sick daughter during her school holidays. Then finally, I manage to "grown my Sims" with all the cheat code found on the internet and then they grew-up and died and I have to play their children and grandchildren. So, at the end, I found myself bored of playing it except enjoying on building of the houses with underground swimming pool or underground garden and 2nd level swimming pool, etc, etc.........
Okie, beside that, I also have baked cakes and muffins and cupcakes and cookies but lazy to update due to slow internet connection. So, now, here I am again. Will try to update more often. Sorrie to my friends who kept checking if I have any new teddy bears or new cakes............many apologies.
My latest, and that is today, I tried my hands on Pau again after a near fatal disaster a few weeks ago. The inside of the Pau was not fully cooked except for the small Pau. A few days ago while searching for macarons, I came across this blog which got her recipe from her friends mum in Malaysia. Sorry, forgot to copy the link. If I find it again, will update the link here then.
This "Pau" or "Bao" or "Mantou" whichever way you wanna call it. It is a rather easy recipe to follow.
Here is the picture of my finish Bunnies Lotus Bao:
This is the full recipes which I think can make 24 medium to large bao.
Ingredients for White dough:
- 500gm HongKong flour (to be sieved)
- 250 gm lukewarm water (weigh the water)
- 125 gm castor sugar
- 2 teaspoon instant dry yeast
- 1 tbsp shortening (use unsalted butter)
- Lotus Paste - store bought at PhoonHuat
- Measuring jug: fill 250 gm lukewarm water and stir in 125 gm of sugar until dissolved. Add in yeast and let stand until yeast becomes creamy and foamy.
- Large metal bowl: sift 500 gm HongKong flour and make a well. Pour in yeast mixture and using a spatula, try and mix them into a dough.
- Now using hand, add in 1 tbsp shortening/butter and knead the dough into a soft and smooth dough.
- Cover dough with a damp cloth or cling wrap and leave to rise for 30 minutes to 1 hour (until dough rises to double the size). To test - press with a finger in the middle of the dough. The depression should not rise-up.
- Lotus paste - weigh around 20 gm of Lotus paste and using both hand-palms, roll it into a ball. set aside.
- Back to dough - gently deflate the dough and turn it out into a lightly floured surface. Knead the dough into a long roll and cut into 24 slices. Let rise for another 10 minutes.
- Take 1 x dough and roll out into a circle. Press 1 x lotus paste in the middle and close the opening by pressing it up. Roll it around your palm to make it round and then shape the bunny body. Use a scissors to cut 2 slits for the ears. Place the bun on a piece of square grease-proof paper. Using red food dye, use a toothpick to prick 2 eyes on the bunny.
- When all the bunny is completed, leave the bunnies to rise for another 30 minutes before steaming them. Do not forget to leave a 1 inch gap in-between the buns as the buns will rise during steaming.
- Steam in a preheated steamer under high heat for 10-15 minutes. Do not open the lid during steaming process.
- Remove the bunnies from steamer and cool on a rack. Best to eat it warm.
Posted by Bearrie at 7/26/2011 09:31:00 PM 0 comments
Labels: Bread
Wednesday, March 16, 2011
Pure
Posted by Bearrie at 3/16/2011 12:37:00 AM 0 comments
Labels: Mini Bears
Tig-Funkie
Posted by Bearrie at 3/16/2011 12:33:00 AM 0 comments
Labels: Furry Critters
Sunday, March 6, 2011
No-Eggs Bananas Chocolate Chips Cake
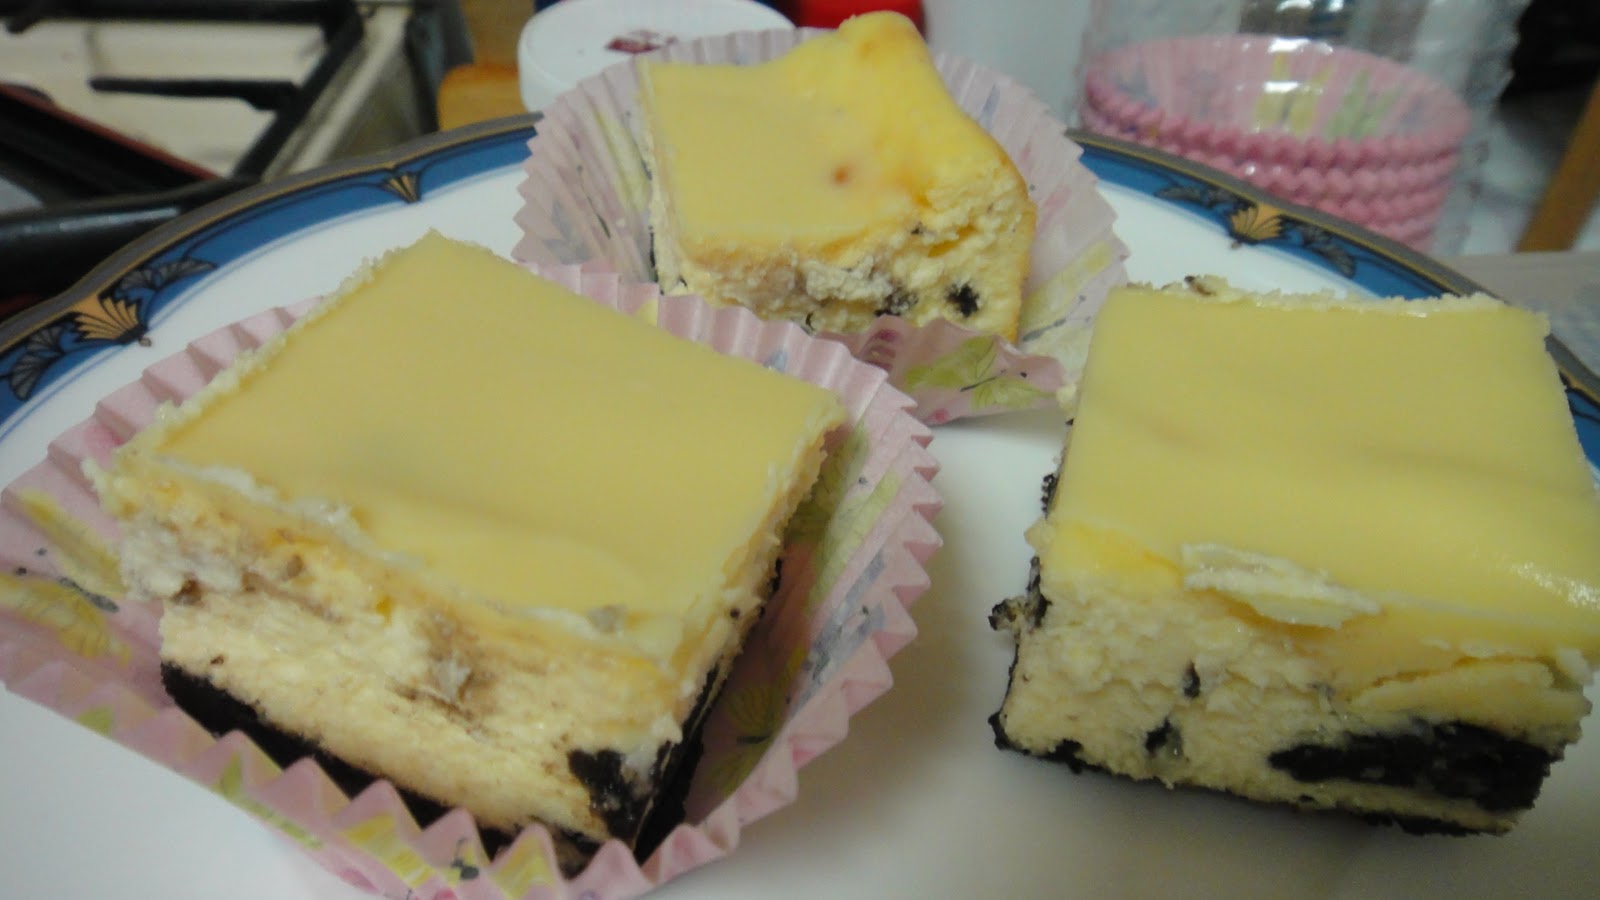
Another eggless recipe for my girl. This taste great, a bit sweet due to the extra applesauce jam and chocolate but overall the cake is soft and slightly chewy. Love its texture. Infact, it is better then the other banana cake recipe that calls for eggs.
Posted by Bearrie at 3/06/2011 10:23:00 PM 0 comments
Labels: Baked Cake
No-Eggs Cranberries Rose Petals Cookies
Made this wonderful and delicious healthy cookies today (actually this is the 2nd time I made this). My younger girl has this diet called Eggless diet because she said it made her put on weight. The cookies are crisp and addictive due to the dried cranberries and they taste and smell like normal cookies. When you bite into them, there is just a tinge of rose taste in them, not over powering because I uses vanilla essence instead of rose essence. This recipe was originally from http://bossacafez.blogspot.com/2010/06/cranberry-rose-cookies.html. I change them abit to suit my taste as we don't like over-powering rose scent. The vanilla essence gives a nice vanilla cookies flavour.
180 gm cake flour
1/4 tsp baking soda
50 gm powdered sugar
100 gm cold unsalted butter
1/4 tsp salt
2 tbsp dried rose buds, petals picked and sepals discarded
1/3 cup dried cranberries, finely chopped
1 tbsp cold milk
1 tsp rose essence or vanilla extract
white chocolate, chopped
Method:
1. Medium bowl: sift flour, baking soda and salt, set aside.
2. Large bowl: Electric mixer - beat together butter and powdered sugar until until creamy. Add in rose essence or vanilla extract.
3. Add dry ingredients to the butter mixture followed by cold water or milk.
4. Using a spatula - fold in rose petals and cranberries + white chocolate until a rough dough is formed.
5. Roll dough into a ball and refrigerate for 20-30 mins.
6. Heat oven to 160 degC and line baking tray with baking paper.
7. Using a cookie cutter, cut out shapes from the dough until all the dough has been used up.
8. Baked cookies for 15 mins at 160 degC and another 10 mins at 110 degC until golden. Cool cookies completely before storing.
Posted by Bearrie at 3/06/2011 10:09:00 PM 0 comments
Labels: Cookies
Friday, February 18, 2011
Bobbie Bunny
Posted by Bearrie at 2/18/2011 12:46:00 PM 0 comments
Wednesday, February 16, 2011
Handphone Pouch
Posted by Bearrie at 2/16/2011 03:10:00 PM 0 comments
Labels: cloth bear
Chocolate Marshmallow Cake
My younger girl made this for her friend's birthday last weekend. She bought a beautiful box and put the cake in. This Chocolate Marshmallow cake looks so lovely that you just want to stare at it and not eat it. Love this recipe alot.
Posted by Bearrie at 2/16/2011 03:06:00 PM 0 comments
Labels: Baked Cake
Tuesday, February 1, 2011
Cranberry/Blueberry White Chocolate Cheese Muffins
This lovely cupcake is from red velvet cupcake recipe. I didn't add the red coloring but added an extra 1/4 cup of chocolate powder to it. My girl said it taste more like milo. With the cream cheese topping, I slices up some strawberry for decoration and voila, what a beautiful cupcake that I have ever made. This one for keeps.
Posted by Bearrie at 2/01/2011 08:13:00 AM 0 comments
Labels: Baked Cake